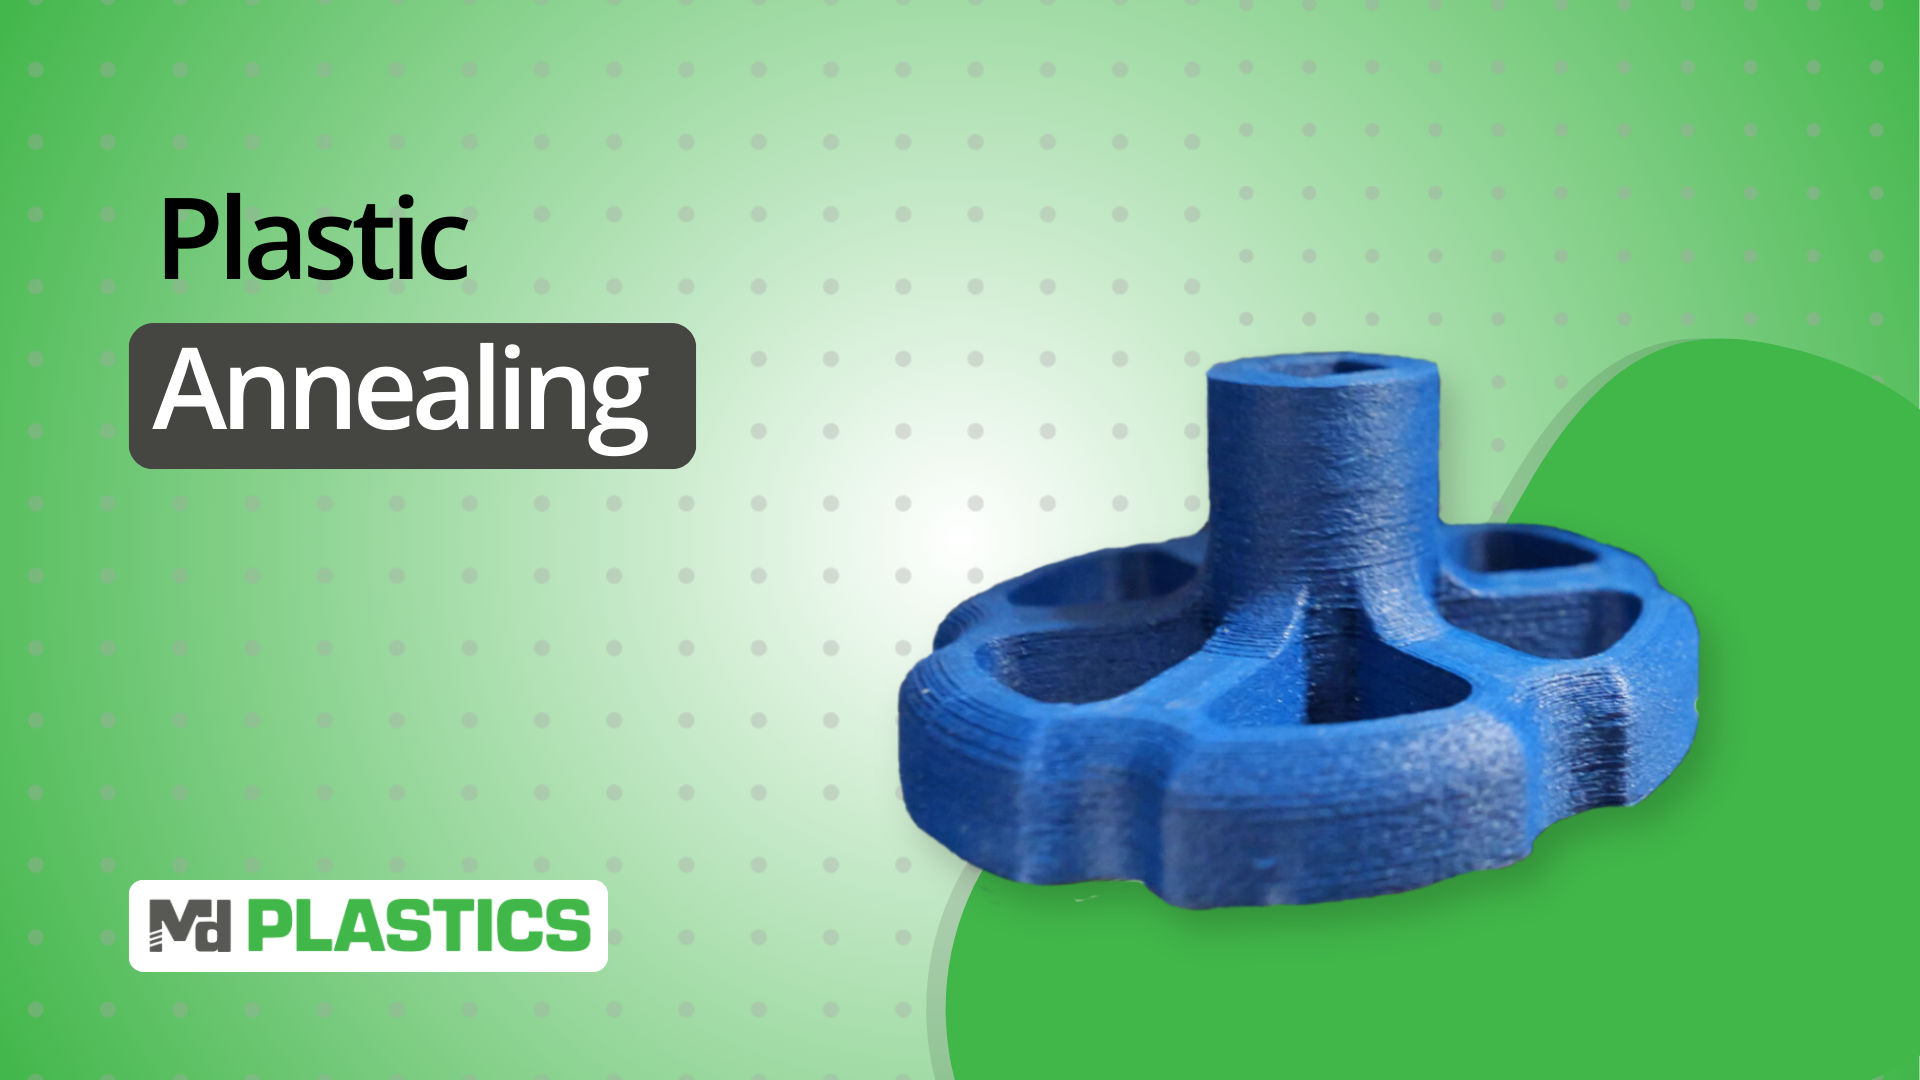
Plastic parts fail for all sorts of reasons, but one of the most preventable is residual stress. These internal tensions get locked into the material during molding, extrusion, or machining.
Left untreated, they can lead to warping, cracking, and premature failure. Annealing is a thermal treatment that eliminates these stresses by giving polymer chains the energy to relax and reorganize.
It's not complicated, but it does require precision. Too much heat and you deform the part. Too little and you waste time without solving the problem.
If you're sourcing plastic components or running production lines, this process directly impacts your quality metrics.
In this article, we’ll break down the plastic annealing process and explore how you can use it to improve your operations.
Key Takeaways:
Residual stress is a primary cause of plastic part failure, leading to warping, cracking, and reduced performance if left unaddressed. Annealing is essential to eliminating these stresses.
Annealing significantly reduces scrap and improves yield by ensuring consistent material properties, enhancing part quality, and optimizing throughput.
Precision in temperature, hold time, and cooling rates is critical for effective annealing; too much heat causes deformation, while too little doesn’t relieve stress properly.
Energy efficiency is a growing focus in annealing, with innovations like heat recovery systems and optimized process controls helping to reduce environmental impact and operating costs.
Annealing plays a key role in integrating with other manufacturing processes such as injection molding, extrusion, and 3D printing, improving stability and minimizing defects across the entire production workflow.
How Does Plastic Annealing Work? A Simple Overview
Annealing is a controlled heat treatment that removes internal stresses from plastic parts after they've been molded, machined, or formed.
The process works by heating the component to a specific temperature range where the polymer chains become mobile enough to relax and reorganize. You hold it at that temperature for a set duration, then cool it gradually under controlled conditions.
The basic sequence:
Heat the part to below its glass transition temperature or melting point
Maintain that temperature long enough for stress relief
Cool slowly to prevent new stresses from forming
During manufacturing, plastic undergoes rapid cooling, mechanical deformation, or uneven pressure distribution. These create frozen-in molecular tensions that remain locked in the finished part.
Without annealing, these stresses cause dimensional changes over time, premature cracking under load, and reduced impact resistance. Parts may pass initial inspection but fail during assembly or in service.
This treatment is particularly critical for machined components, welded assemblies, and thick-walled parts, where stress concentrations are highest. Very thick sections may require multi-stage or extended cycles and may never reach full relaxation.
Common materials that benefit from annealing:
Acetal (POM)
Polycarbonate (PC)
Nylon (PA)
PTFE
Acrylic (PMMA)
PVC
Each of these materials benefits from annealing by improving its physical properties, reducing defects, and increasing its suitability for different applications.
Key Benefits of Annealing Plastic for Quality Improvement
Annealing addresses the root cause of many plastic component failures by eliminating internal stresses that compromise performance. The benefits show up across your quality metrics, from first-pass yield to warranty claims.
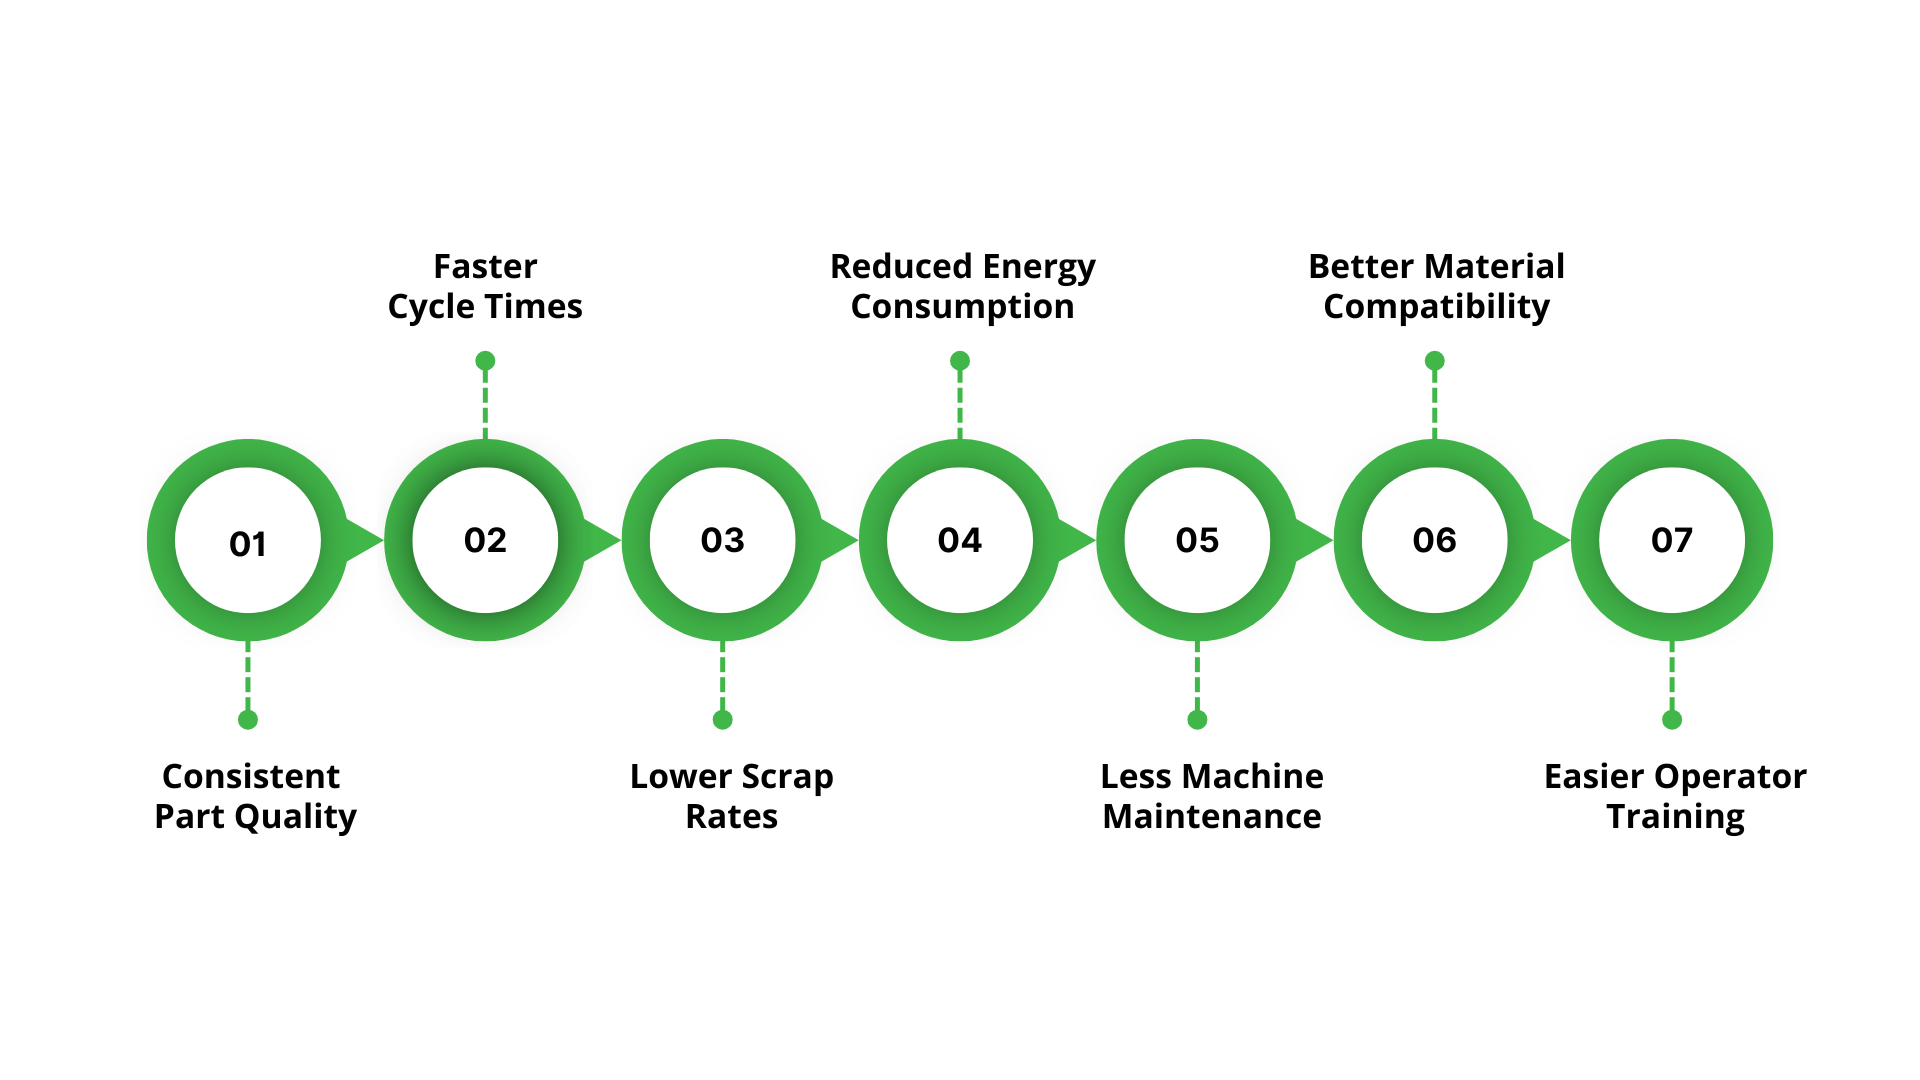
Here’s how plastic annealing helps your production process:
Reduced Scrap: Plastic production and waste have doubled between 2000 and 2019. If current trends continue, the amount of plastic produced and discarded could triple by 2060, posing significant challenges for the industry. By minimizing internal stresses, annealed plastic is less likely to warp or crack, reducing material waste.
Improves Yield: Better material consistency means fewer rejects and higher product quality, directly impacting your yield rate.
Enhanced Equipment Uptime: Less stress on machinery due to more stable materials reduces wear and tear on production equipment, leading to increased uptime.
Optimized Throughput: With more reliable materials, production speeds can be optimized, leading to higher throughput.
Reduced Downtime: Fewer material defects and failures during production lead to reduced downtime for repairs and adjustments.
How to Optimize the Plastic Annealing Process in Your Plant
To get the most out of plastic annealing, it’s important to optimize the process to match the specific needs of your materials and production goals. Small adjustments in temperature, time, and cooling rate can have a significant impact on your product quality and operational efficiency.
Here’s how to improve the annealing process in your plant:
Select the Right Temperature for Your Material
When selecting a material for annealing, it’s important to understand that different plastics have distinct annealing temperature ranges. For example, annealing polycarbonate requires careful temperature control to prevent issues like deformation or property degradation.
Each polymer has a specific temperature range for stress relief. If the temperature is too low, you’ll waste energy without relieving enough stress, while too high a temperature can risk material damage.
Your optimal temperature for annealing will depend on the type of plastic, part geometry, stress levels, and material grade. Always run trials with sample parts, measuring dimensional changes before and after treatment to ensure the best results.
Important note: For filled or reinforced grades, use the lower end of the range to avoid matrix degradation around reinforcement fibers.
Calculate Hold Time Based on Part Thickness
Thicker sections require a more prolonged exposure to heat to penetrate fully and allow complete stress relaxation
Base calculations on the thickest section for complex geometries
Thinner areas will complete stress relief faster, but won't be harmed by extended exposure
Control Heating Rate to Prevent Thermal Shock
Rapid heating can cause surface stress or cracking, especially in brittle materials
Heat slowly and uniformly to bring the entire part to temperature together
Air circulation ovens work well for most applications
Use inert atmosphere or vacuum ovens for parts sensitive to oxidation at elevated temperatures
Manage Cooling Rate to Lock in Benefits
Cooling is as critical as heating
Fast cooling reintroduces thermal stress and negates the annealing effect
Allow parts to cool naturally inside the turned-off oven
Never quench annealed parts or expose them to drafts during cooldown
Parts should return to near room temperature before handling or subsequent processing
Support Parts Properly During Heat Treatment
Plastic becomes more compliant at annealing temperatures
Parts can sag or deform under their own weight if not properly supported
Use flat fixtures for sheet goods
Support long components at multiple points to prevent bending
Use fixtures that maintain critical dimensions for precision parts
Aluminum fixtures work well for most applications
Validate Results with Measurement
Check the dimensional stability before and after annealing on sample parts from each batch. Measure the critical dimensions immediately after annealing and again after 24-48 hours at room temperature.
Parts should show minimal dimensional change post-annealing compared to pre-annealing measurements. Significant change indicates either incomplete stress relief or incorrect process parameters.
Quality checks to implement:
Visual inspection for warping or surface defects
Dimensional verification of tolerance-critical features
Stress crack testing on witness samples
Comparison of first-piece to last-piece consistency
Set Up Process Controls for Repeatability
Document annealing parameters for each material and part family
Record temperature, hold time, heating rate, and cooling method
Use ovens with calibrated temperature controllers and maintain regular calibration records
Track oven loading density to prevent temperature non-uniformity
Overloading reduces air circulation and leads to inconsistent results
Integrate into Production Flow Efficiently
Schedule annealing after all machining operations, but before final inspection or assembly
Batch parts by material type and size to minimize oven changeover time
Pre-sort incoming work to keep similar parts together
Consider in-house capability versus outsourcing to heat treatment specialists
In-house control improves lead time and quality consistency
Outsourcing reduces capital investment and floor space requirements
Train Operators on Critical Parameters
Plastic annealing appears simple, but requires attention to detail
Operators need to understand why temperature accuracy matters and how improper handling affects results
Provide clear work instructions that specify temperature, time, loading patterns, and acceptance criteria
Include photos of proper part support methods
Build in verification steps where operators confirm oven temperature before loading and record actual cycle parameters for traceability
Common Challenges in the Plastic Annealing Process and How to Overcome Them
Even well-established plastic annealing processes can run into issues that affect part quality or production efficiency. Most problems trace back to temperature control, handling errors, or incomplete process documentation.
Recognizing these challenges early helps you implement corrective measures before they impact your scrap rate or lead time.
Challenge | Root Cause | Solution |
|---|---|---|
Warped parts after annealing | Inadequate support during heat treatment or uneven heating | Use proper fixturing that supports all sections. Verify oven temperature uniformity across the workspace. Check for blocked air circulation. |
Surface discoloration or degradation | Temperature too high or exposure to oxygen at elevated temperatures | Verify actual oven temperature against setpoint. Use an inert atmosphere for oxidation-sensitive materials. Reduce temperature or hold time. |
Inconsistent results between batches | Temperature variation, different loading densities, or operator variation | Calibrate oven temperature controllers regularly. Document and enforce standard loading patterns. Implement batch tracking with actual process parameters. |
Parts still fail stress testing post-annealing | Insufficient hold time, incorrect temperature, or cooling too fast | Increase hold time based on the thickest section. Verify temperature is within the material-specific range. Implement controlled cooling rate. |
Dimensional change during annealing | Temperature too high for material or insufficient part support | Lower annealing temperature. Improve fixturing to maintain critical dimensions. Consider using the material's lower annealing range. |
Long cycle times affecting throughput | Overly conservative parameters or small batch sizes | Optimize heating and cooling rates for your specific material. Increase batch size without overloading. Consider dedicated plastic annealing equipment for high-volume parts. |
Parts stick to fixtures or each other | Fixtures too hot, incompatible materials, or parts in direct contact | Use lower thermal mass fixtures. Place separator sheets between stacked parts. Ensure fixtures don't exceed material softening temperature. |
Cracking during heat treatment | Heating rate too fast or existing defects in material | Reduce heating rate for brittle materials. Inspect incoming material for pre-existing stress cracks. Check for contamination or moisture absorption. |
Key Factors to Monitor for Successful Plastic Annealing in Your Plant
Consistent annealing results depend on controlling the variables that affect heat transfer and stress relaxation. Your monitoring system should track both process parameters and quality outcomes to catch deviations before they become defects.
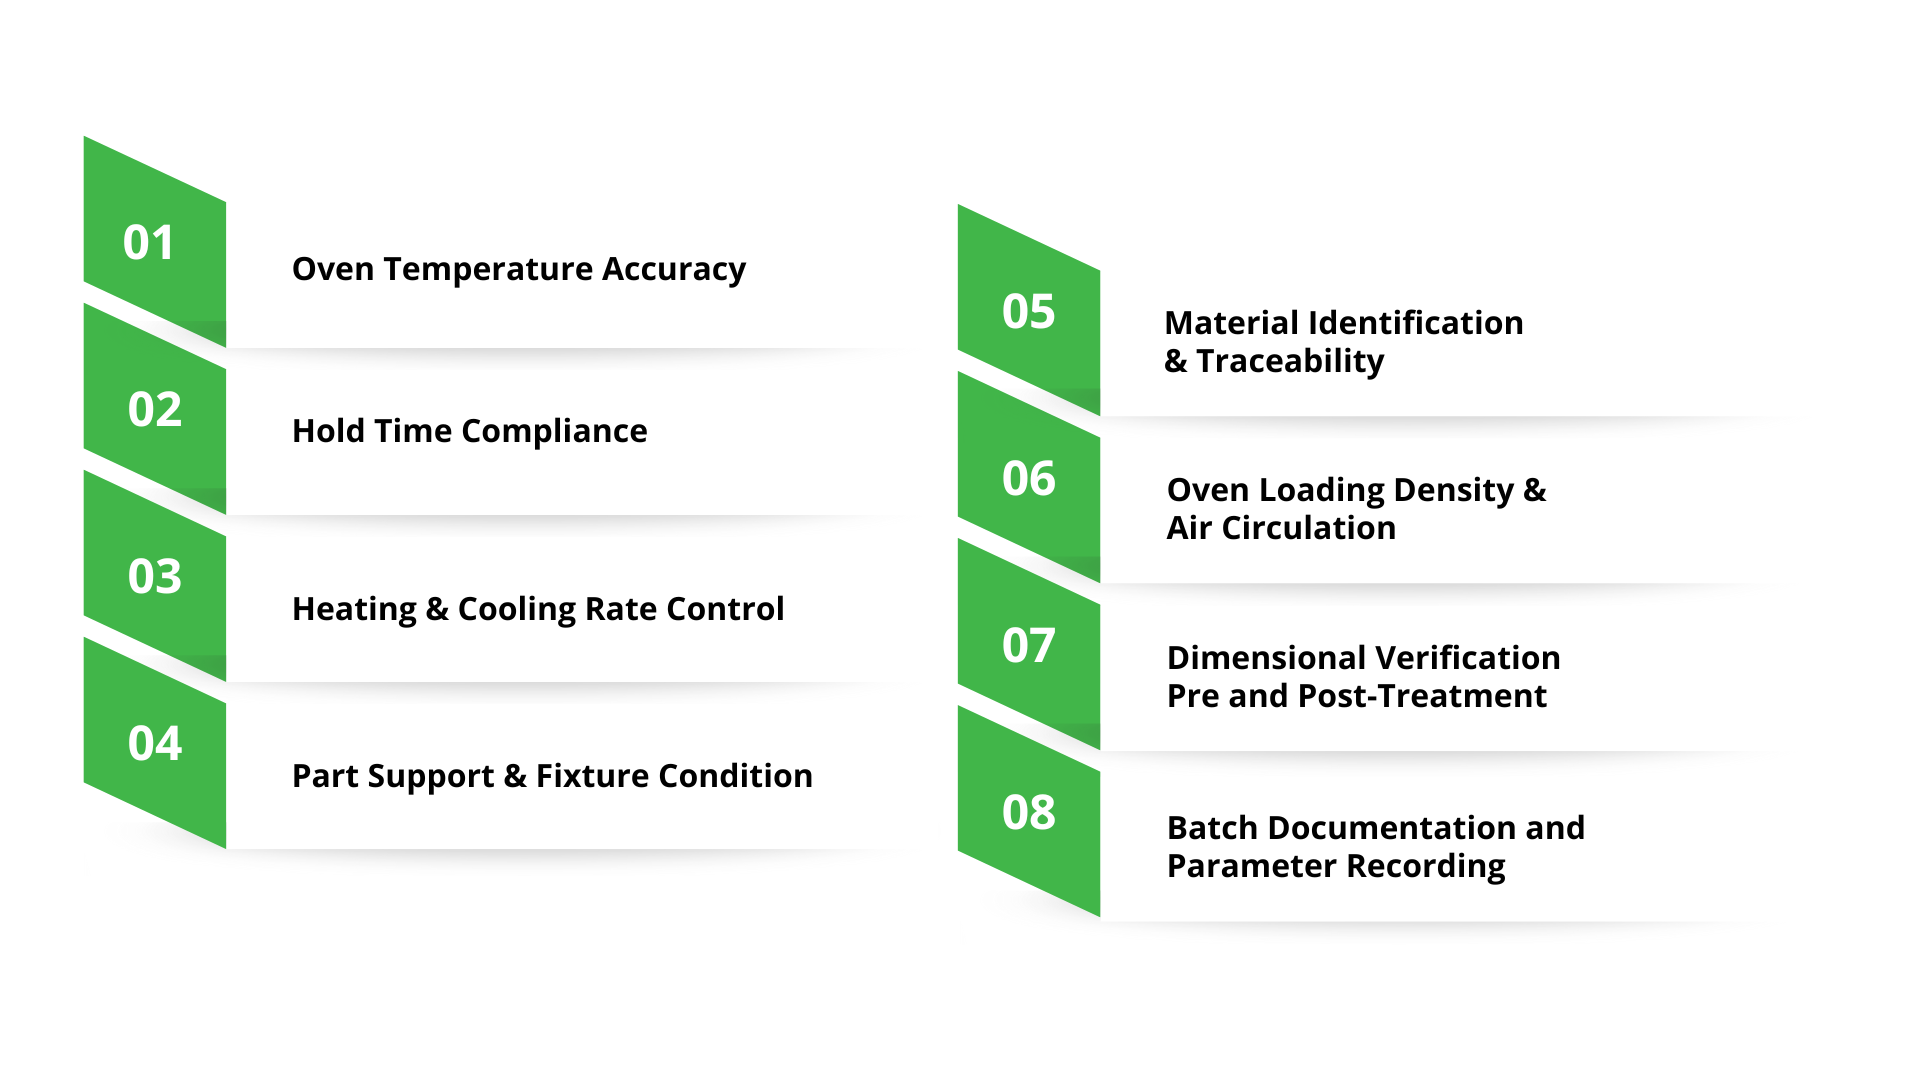
Oven Temperature Accuracy
What to do: Verify actual temperature matches setpoint using calibrated instruments at multiple locations within the oven workspace to ensure uniformity across the heating zone.
Why do it: Temperature variation beyond a narrow range creates inconsistent stress relief and can lead to part-to-part quality differences within the same batch.
Hold Time Compliance
What to do: Track actual time at temperature for each batch to ensure thicker sections receive adequate heat penetration for complete stress relaxation throughout the cross-section.
Why do it: Insufficient hold time leaves residual stresses that cause delayed failures, while excessive time wastes energy without additional benefit to part performance.
Heating and Cooling Rate Control
What to do: Monitor ramp-up speed to prevent thermal shock in brittle materials, and verify controlled cooldown to avoid reintroducing stresses that negate annealing benefits.
Why do it: Rapid temperature changes can cause surface cracking or internal stress formation that compromises the structural integrity you're trying to achieve.
Part Support and Fixture Condition
What to do: Check that fixtures maintain proper support without creating contact stress points, and verify that fixtures remain clean and free from contamination that transfers to parts.
Why do it: Sagging or deformation during treatment indicates inadequate support, while marks or stains suggest fixture material incompatibility with your process temperature.
Material Identification and Traceability
What to do: Confirm material type before processing, since different polymers require different temperature ranges, and annealing at the wrong parameters can destroy parts or provide no benefit.
Why do it: Mix-ups between similar-looking materials can lead to scrapped batches, making positive identification and segregation critical for quality control and cost management.
Oven Loading Density and Air Circulation
What to do: Maintain consistent spacing between parts to allow uniform heat distribution and avoid overloading, which blocks airflow and creates temperature gradients within the batch.
Why do it: Poor circulation causes some parts to under-anneal while others may overheat, resulting in quality variation that shows up during inspection or field use.
Dimensional Verification Pre and Post-Treatment
What to do: Measure critical features before annealing and after cooldown to detect unexpected dimensional changes that indicate process problems or incorrect temperature selection.
Why do it: Tracking dimensional stability provides early warning of parameter drift and helps validate that your process delivers the expected stress relief without unwanted side effects.
Batch Documentation and Parameter Recording
What to do: Record actual process conditions for every batch, including temperature profiles, hold times, and any deviations, to enable traceability when quality issues arise downstream.
Why do it: Complete documentation supports root cause analysis when defects occur and provides the data foundation for continuous process improvement and capability studies.
Economic Impact and Cost Considerations
Annealing adds a process step, which means added cost. But the calculation isn't as simple as energy bills and equipment depreciation. You need to look at what annealing prevents and where it creates value downstream.
Direct Cost Components
Energy consumption forms the largest ongoing expense
Equipment investment varies based on volume and requirements
Basic convection ovens for small batches require a lower capital outlay
Automated systems with atmosphere control cost more but deliver tighter process control
Maintenance includes temperature controller calibration and heating element replacement
Where Annealing Creates Savings
Scrap reduction from parts that no longer crack during machining or fail in assembly
Lower warranty claims when parts don't warp or crack in the field
Each return costs a replacement part plus shipping, handling, and customer relationship damage
Reduced machining time because cutting tools last longer without fighting internal stresses
Tighter tolerances using standard molding instead of expensive precision techniques
Throughput and Lead Time Factors
In-house capability eliminates the delays of sending parts out for heat treatment
Parts move directly from machining to inspection without vendor wait times
Lead time reduction is often worth more than direct cost savings for urgent orders
Batch processing efficiency improves as you optimize loading patterns and cycle times
Making the Business Case
Track these metrics to build your ROI calculation:
Current scrap rate on parts that would benefit from annealing
Material and labor cost per rejected piece
Annual warranty returns for stress-related failures
Full cost of processing each return, including handling
Compare against:
Equipment depreciation
Annual energy consumption
Labor hours for operation
Maintenance costs
Most operations find annealing pays for itself within the first year when applied to parts where residual stress drives quality problems.
Environmental Impact and Sustainability Considerations
Annealing consumes energy, which means it has an environmental footprint. But the calculation gets more complex when you factor in waste reduction and product longevity.
Operational Strategies That Reduce Impact
Batch processing minimizes energy waste by running the oven continuously
Temperature setpoint optimization identifies the minimum effective temperature for your parts
Heat recovery systems capture exhaust heat to preheat incoming parts or warm adjacent areas
Programmable controls minimize idle time and optimize heating profiles
Schedule cycles during peak solar production hours to maximize renewable utilization
Equipment Selection for Lower Impact
Modern ovens automatically reduce temperature during off-shifts
Gas-fired ovens can offer lower carbon intensity, depending on local grid mix
Solar or renewable energy integration works well because the process doesn't require an instant power response
Combined heating systems that handle multiple thermal processes cut equipment count
Integration with Other Manufacturing Processes
Annealing doesn't exist in isolation. Where you place it in your production sequence affects both part quality and operational efficiency.
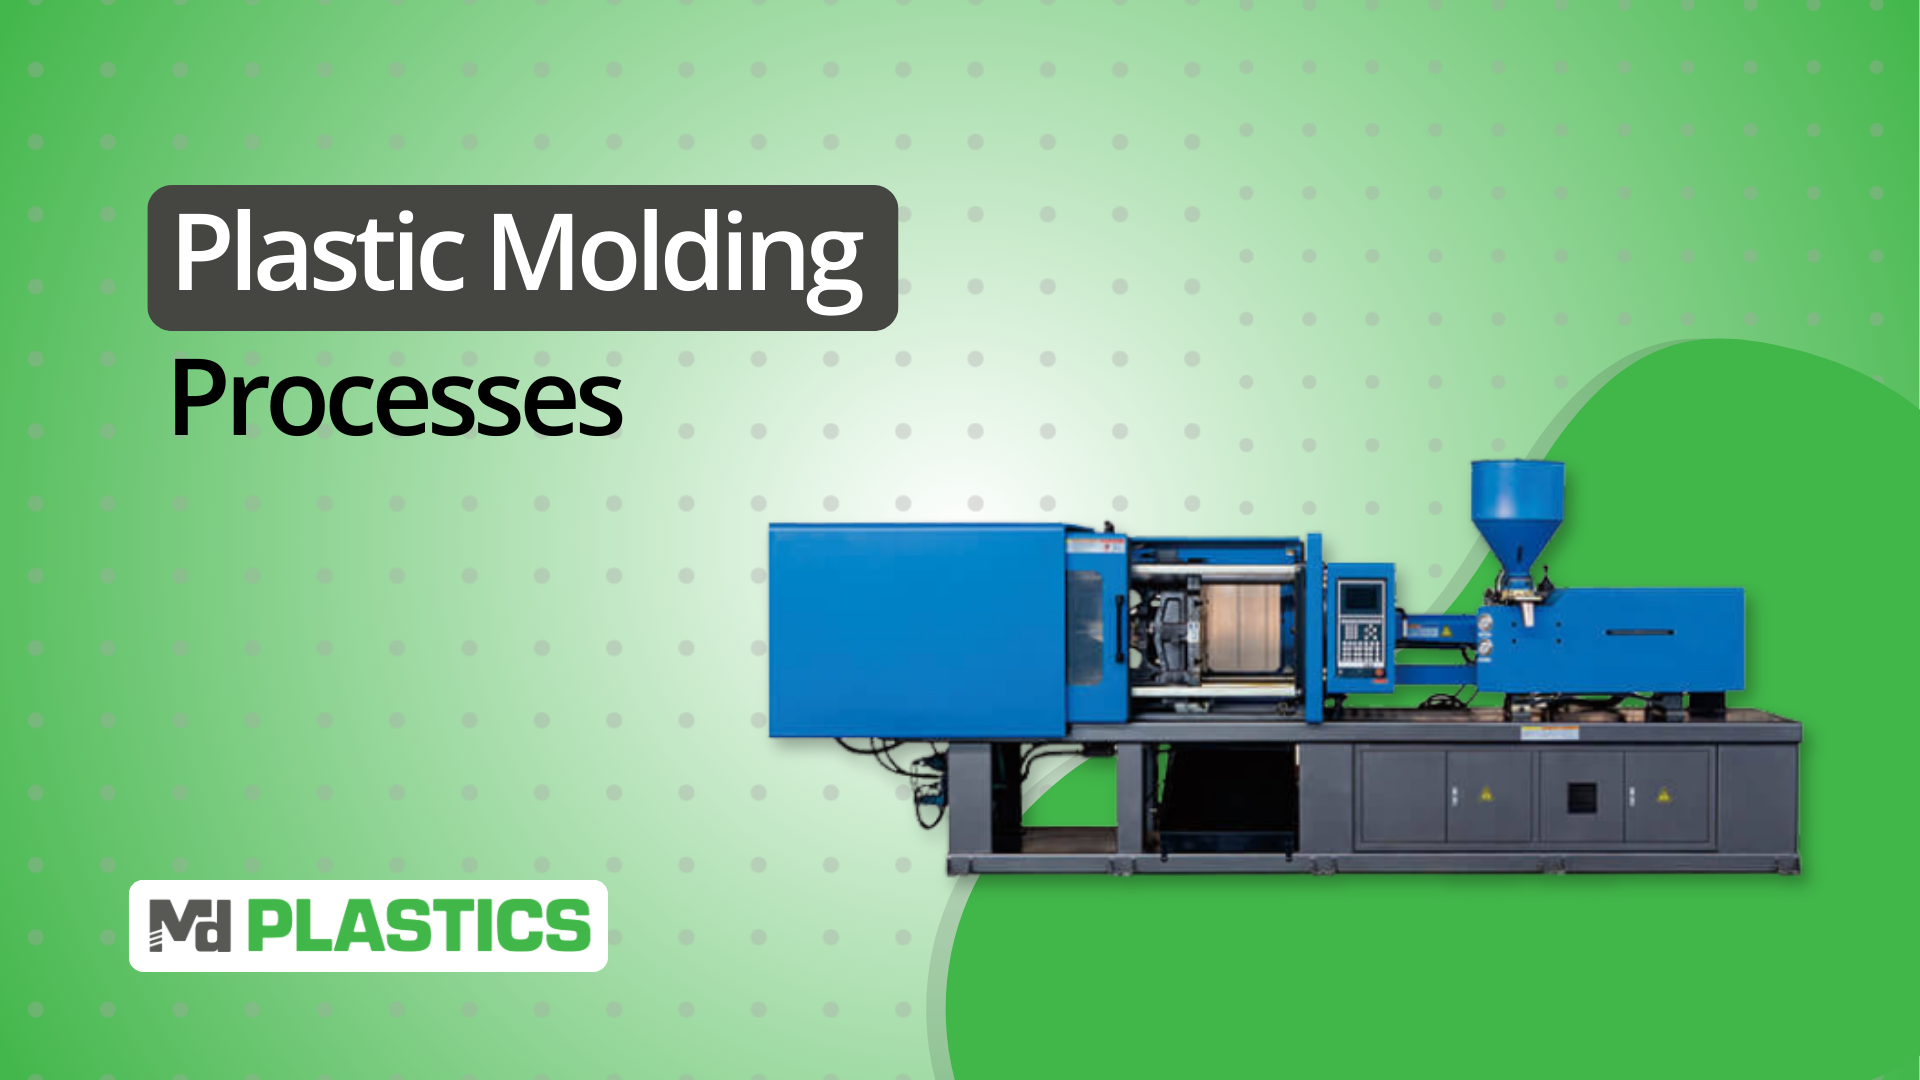
Synergy with Injection Molding: In injection molding, parts often experience residual stresses during cooling. Annealing these parts helps to stabilize them before any further operations, reducing the chances of warping or cracking during subsequent steps like machining or bonding.
Optimizing with Extrusion: For extruded parts, annealing is crucial to relieve stress caused by the extrusion process. Annealing at the right stage ensures the material is easy to handle and shape during secondary operations, such as cutting or forming.
Additive Manufacturing (3D Printing): With 3D printing, parts are built layer by layer, and each layer can introduce its own stresses. Annealing is beneficial, but optional—and must be tuned for material-specific shrinkage.
How MD Plastics Can Help
The best way to minimize annealing requirements is to prevent residual stress from forming in the first place. At MD Plastics, we specialize in advanced plasticating systems that improve your injection molding process from start to finish.
Our solutions are designed to deliver better melt preparation, delivery, monitoring, and purging, increasing efficiency, precision, and ultimately, profitability.
Whether you're upgrading existing equipment or designing a custom system, we have the expertise to enhance your production line.
Here’s how we can help:
Inject-EX™ Plasticating Systems: A patented system that ensures more uniform and homogeneous melt, improving quality and control. Can be retrofitted onto existing presses.
Posi-Melt™ Multipurpose Screws: The most versatile screw technology, improving melt quality with up to 60% more exposure to the barrel wall for uniform homogenization.
MDP™ Non-Return Valves: Designed to enhance the accuracy of melt delivery, improving overall efficiency and part consistency.
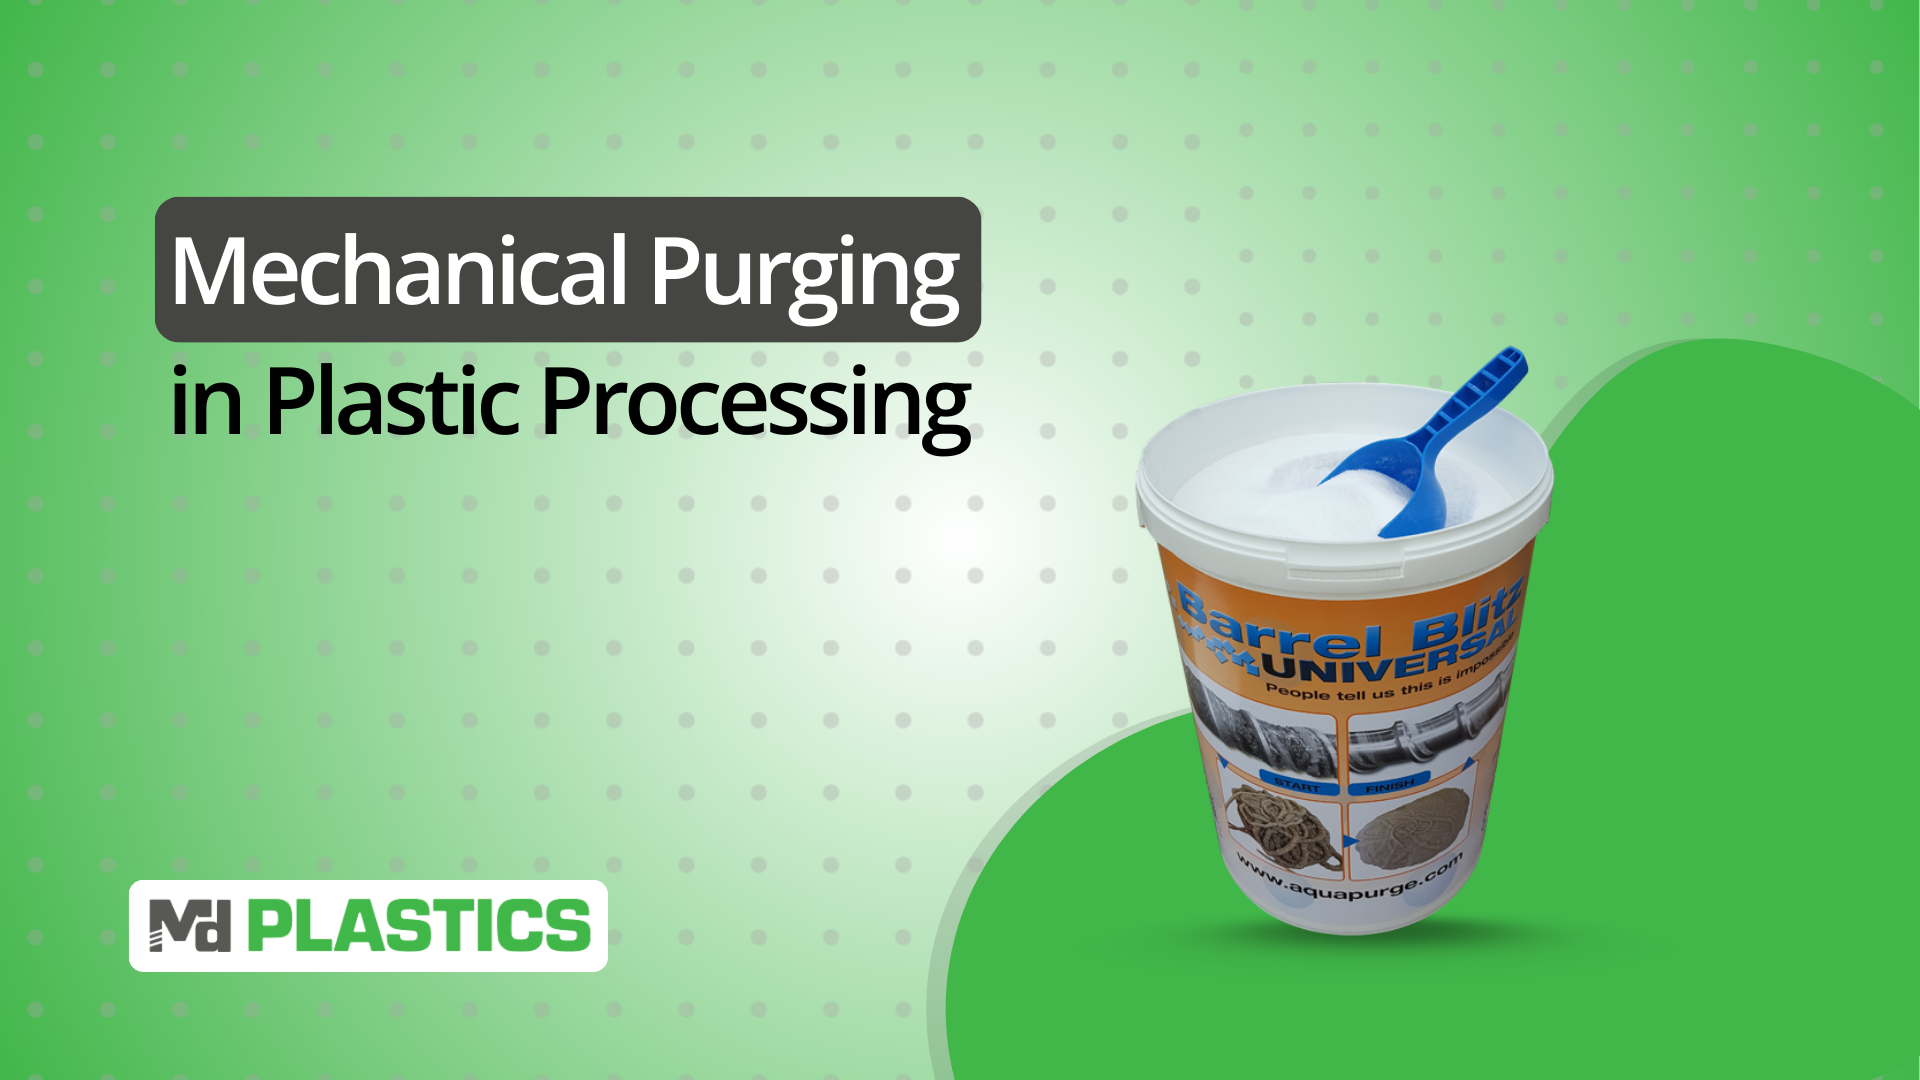
Barrel Blitz Universal & Poly Clear Prime Purging Systems: Efficient purging solutions that reduce downtime, improve material changeover times, and ensure cleaner, more consistent production.
Melt-IQ™ System: Advanced monitoring system that tracks melt quality in real-time, providing crucial data for process optimization.
Contact us today to learn how our systems can enhance the performance and profitability of your molding operation.
FAQs
1. What is the main purpose of plastic annealing?
Annealing reduces internal stresses in plastic materials, improving their dimensional stability, strength, and durability, which prevents failures in later manufacturing steps.
2. How does annealing affect plastic part quality?
Annealing improves material consistency, leading to fewer defects, higher yield rates, and better performance in final applications, reducing scrap and failures.
3. What are the key parameters in the annealing process?
Critical factors include the annealing temperature, soak time, cooling rate, and the material’s thickness, all of which must be precisely controlled for optimal results.
4. Can plastic annealing be done in-house?
Yes, if you have the right equipment, in-house annealing can save time and improve control over your production process. Outsourcing is another option for reducing investment.
5. What materials benefit most from annealing?
Common materials like Acetal (POM), Polycarbonate (PC), Nylon (PA), and Acrylic (PMMA) benefit from annealing, improving their physical properties and reducing defects.