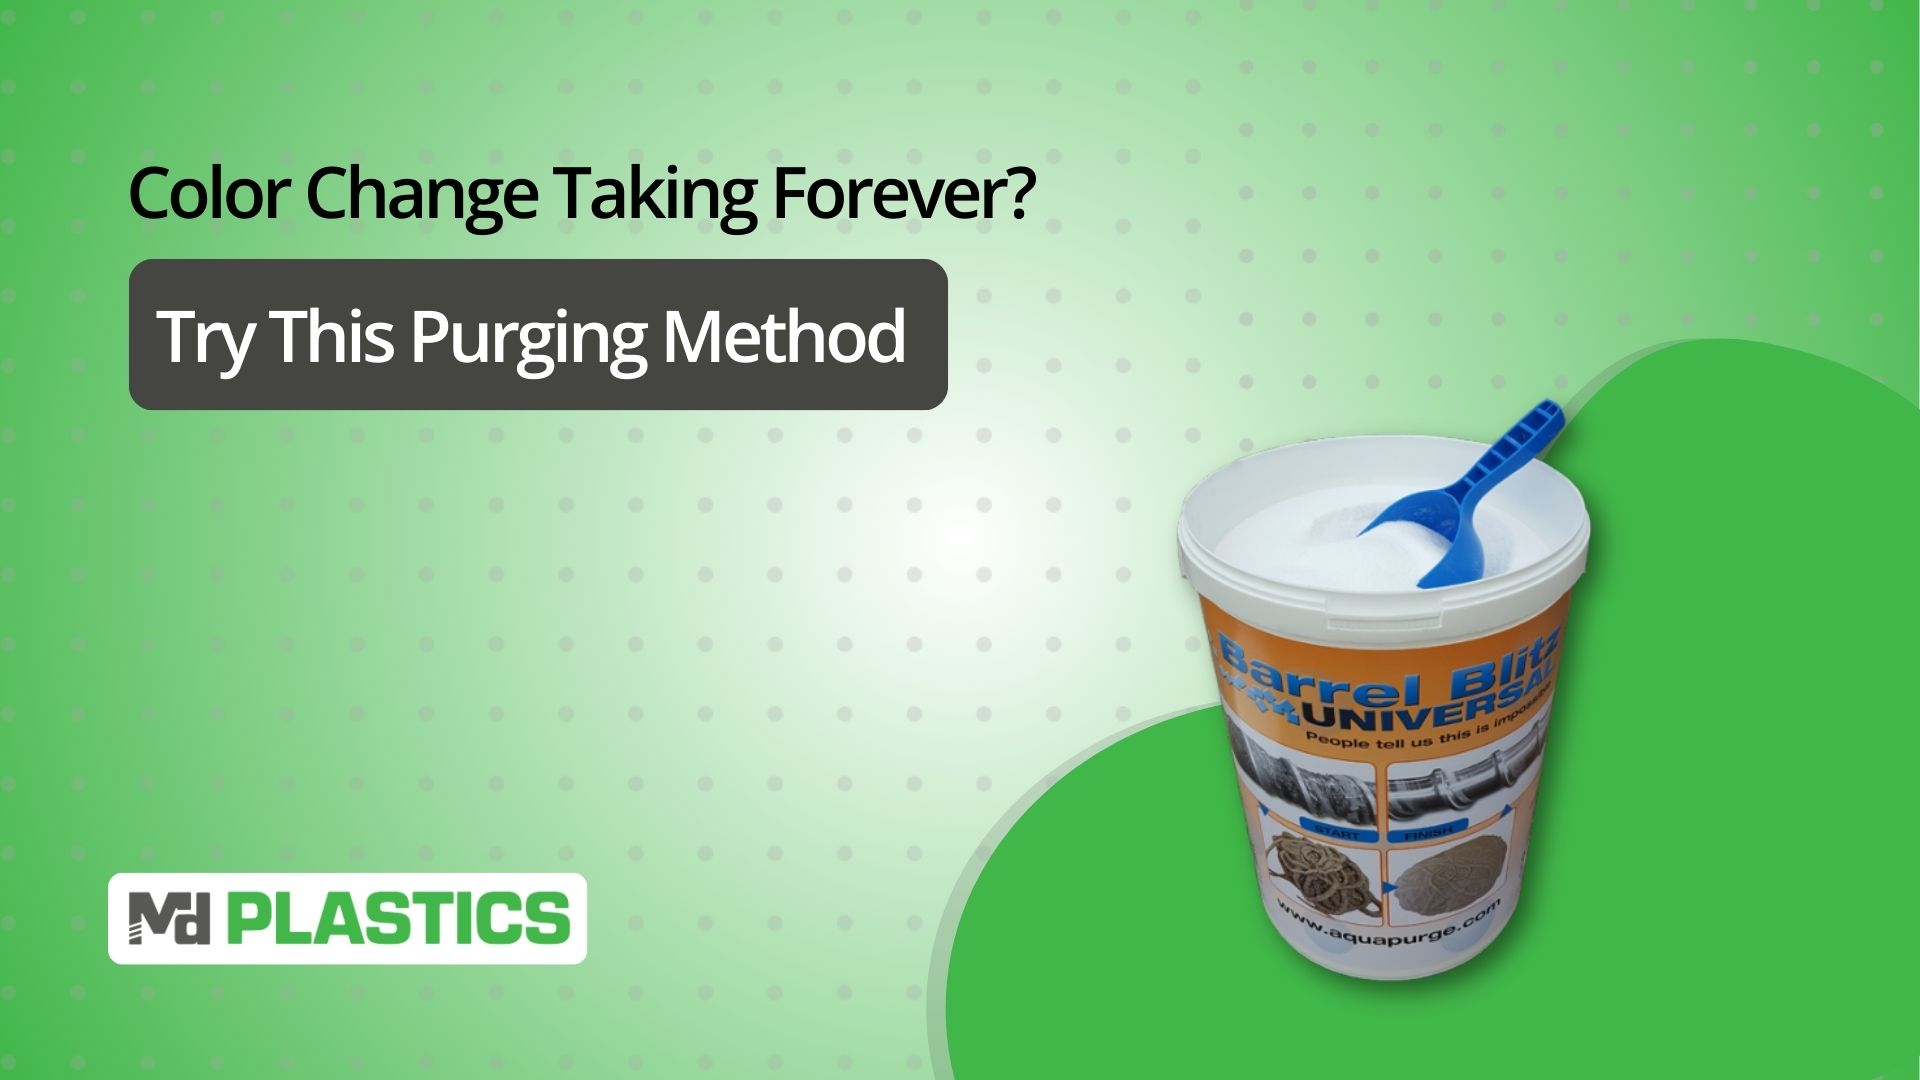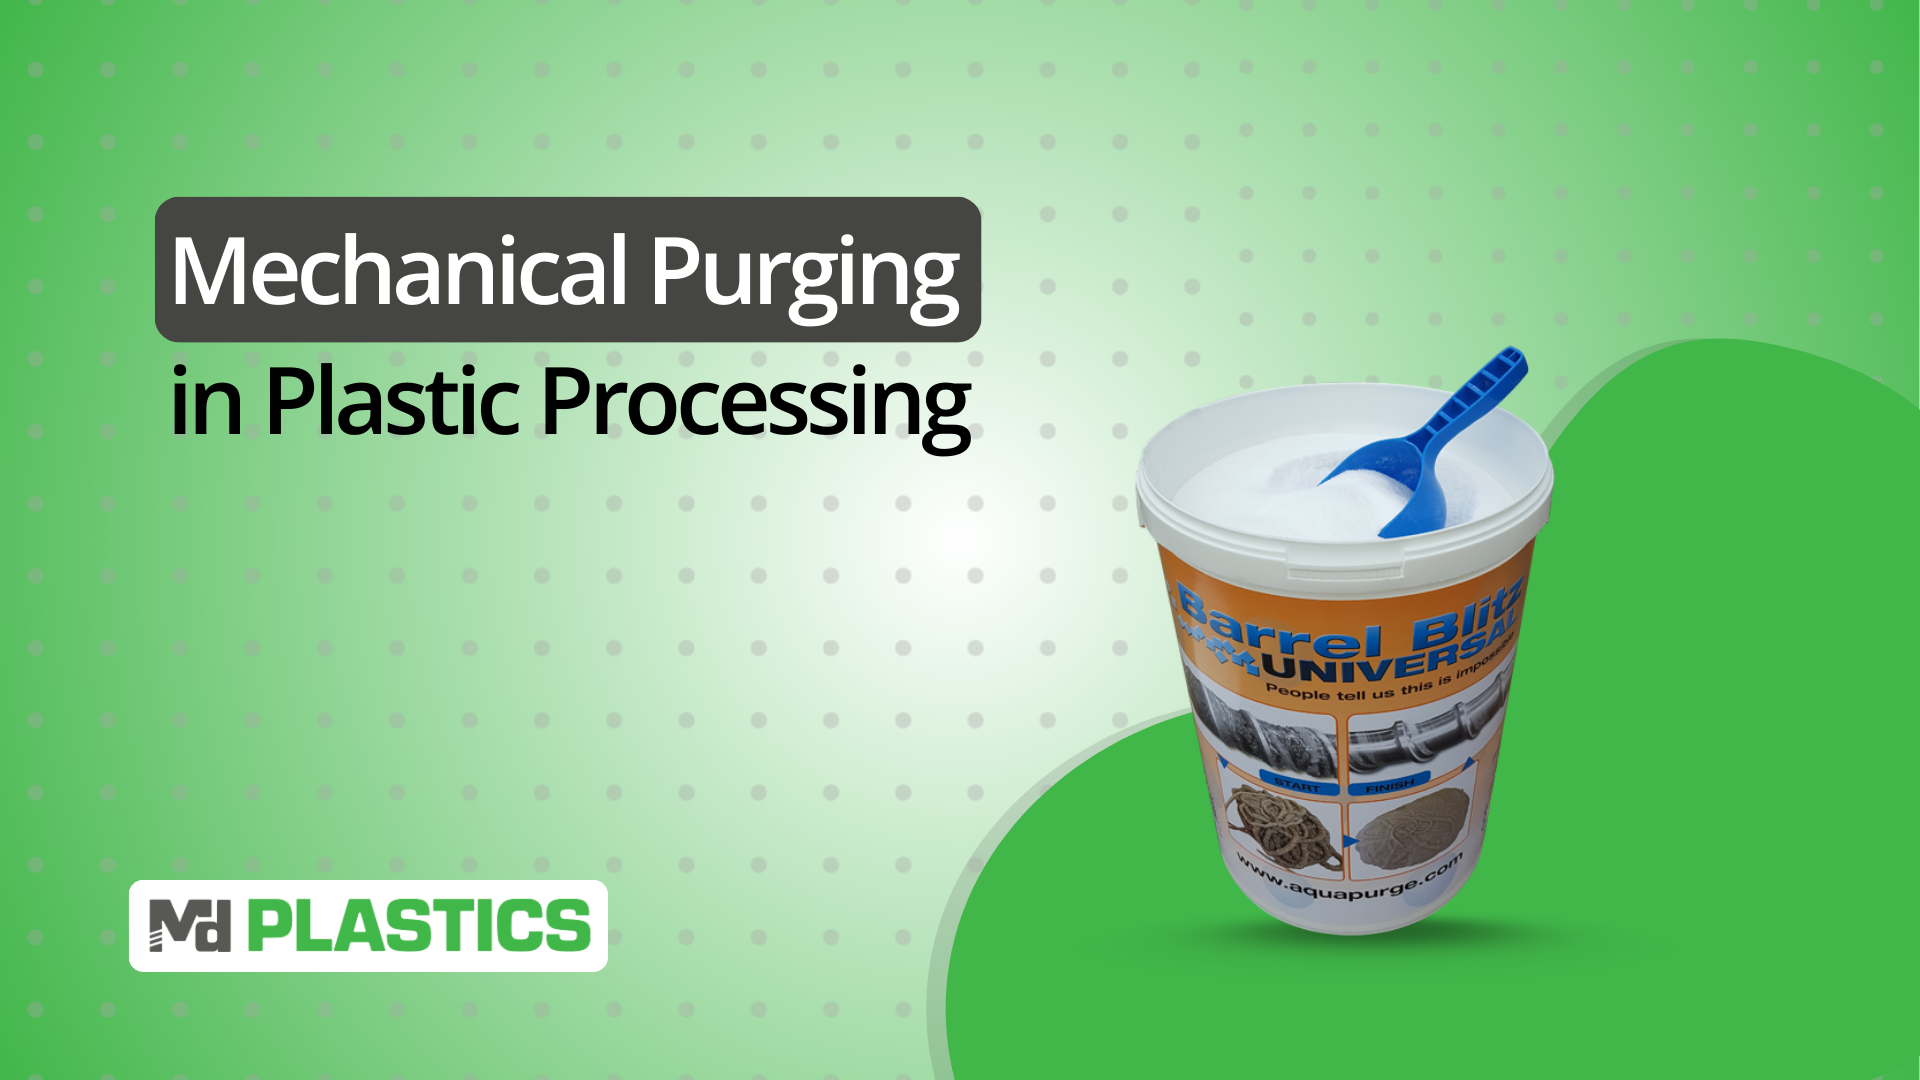
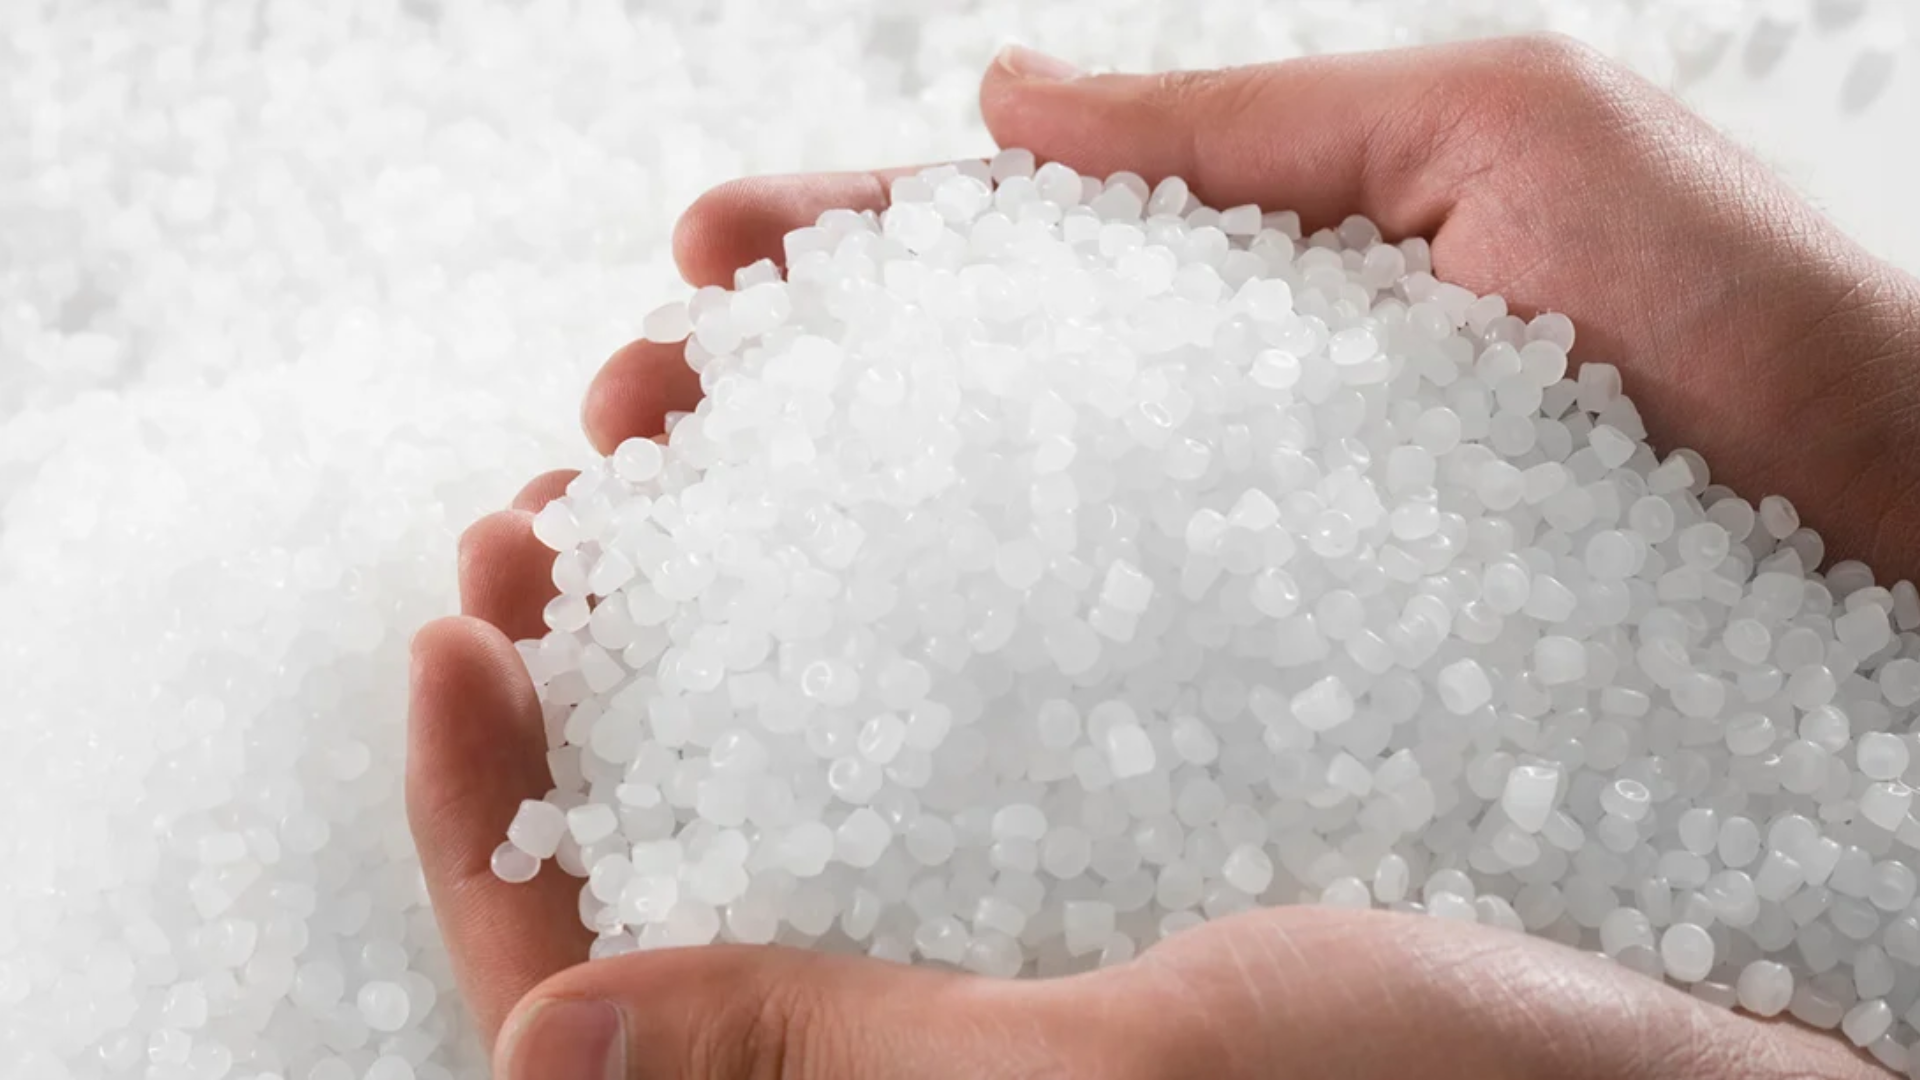
Mechanical purging is the process of using a high-viscosity resin or purge compound to physically push out and scrub away the material left inside the screw, barrel, and melt-delivery components of a plastics machine.
It’s one of the most important maintenance and changeover steps in injection molding, extrusion, and blow molding, but also one of the most misunderstood.
Processors purge to remove contamination, eliminate carbon buildup, clear color from previous runs, or prevent downtime during material transitions. Yet in most plants, purging is treated as a reactive fix instead of a preventative strategy.
By the time black specks, streaking, or stubborn color hang-up appear, the melt stream has already been degrading for hours or weeks inside the machine.
This guide breaks mechanical purging down into practical engineering terms, what it is, when to use it, how it works, common mistakes, how to troubleshoot persistent contamination, and why melt quality has more influence over purge effectiveness than the purge compound itself.
And because melt behavior drives both contamination and purge performance, we’ll also cover the role of improved plasticating systems and melt monitoring in reducing purge frequency.
Preview: Better melt → faster purges → fewer purges.
Key Takeaways
Mechanical purging removes contamination by using high-viscosity melt, shear, and pressure to physically scrub the screw, barrel, and melt path.
Use it during color changes, material transitions, shutdown/startup, black-spec events, and before maintenance—any time resin must be displaced, not chemically dissolved.
Effective mechanical purging depends on high backpressure, proper screw speed, and thermal alignment; poor technique doubles purge time and leaves contamination behind.
Most purge problems aren’t purge problems at all—they’re melt-quality problems caused by worn screws, dead spots, failing NRVs, or unstable temperature control.
MD Plastics reduces purge frequency by improving melt preparation with optimized screws, NRVs, barrels, and real-time melt monitoring.
What Is Mechanical Purging?
Mechanical purging is a physical cleaning method used in plastic processing to remove residual resin, pigments, additives, and degraded material from the screw, barrel, and front-end components of the molding machine.
It works by pushing a high-viscosity, high-shear material through the plasticating system to force out contaminants.
How Mechanical Purging Works
Mechanical purging relies on two core mechanisms:
Displacement: A thicker, more viscous melt pushes out the existing resin and any trapped material in the flow path.
Shear Scrubbing: The purge material creates high shear against screw flights, the NRV, and the barrel wall, physically loosening buildup that normal resin flow cannot remove.
What Mechanical Purging Actually Cleans
Mechanical purging effectively reaches contamination in:
Screw flights and root
Barrel surface and compression zones
Check valve (NRV) sealing surfaces
Nozzle body and tip
Gate and runner areas (depending on pressure and design)
It’s especially effective for removing pigment residues, degraded resin, black specs, and stringing contamination that result from reduced shear or stagnant flow zones.
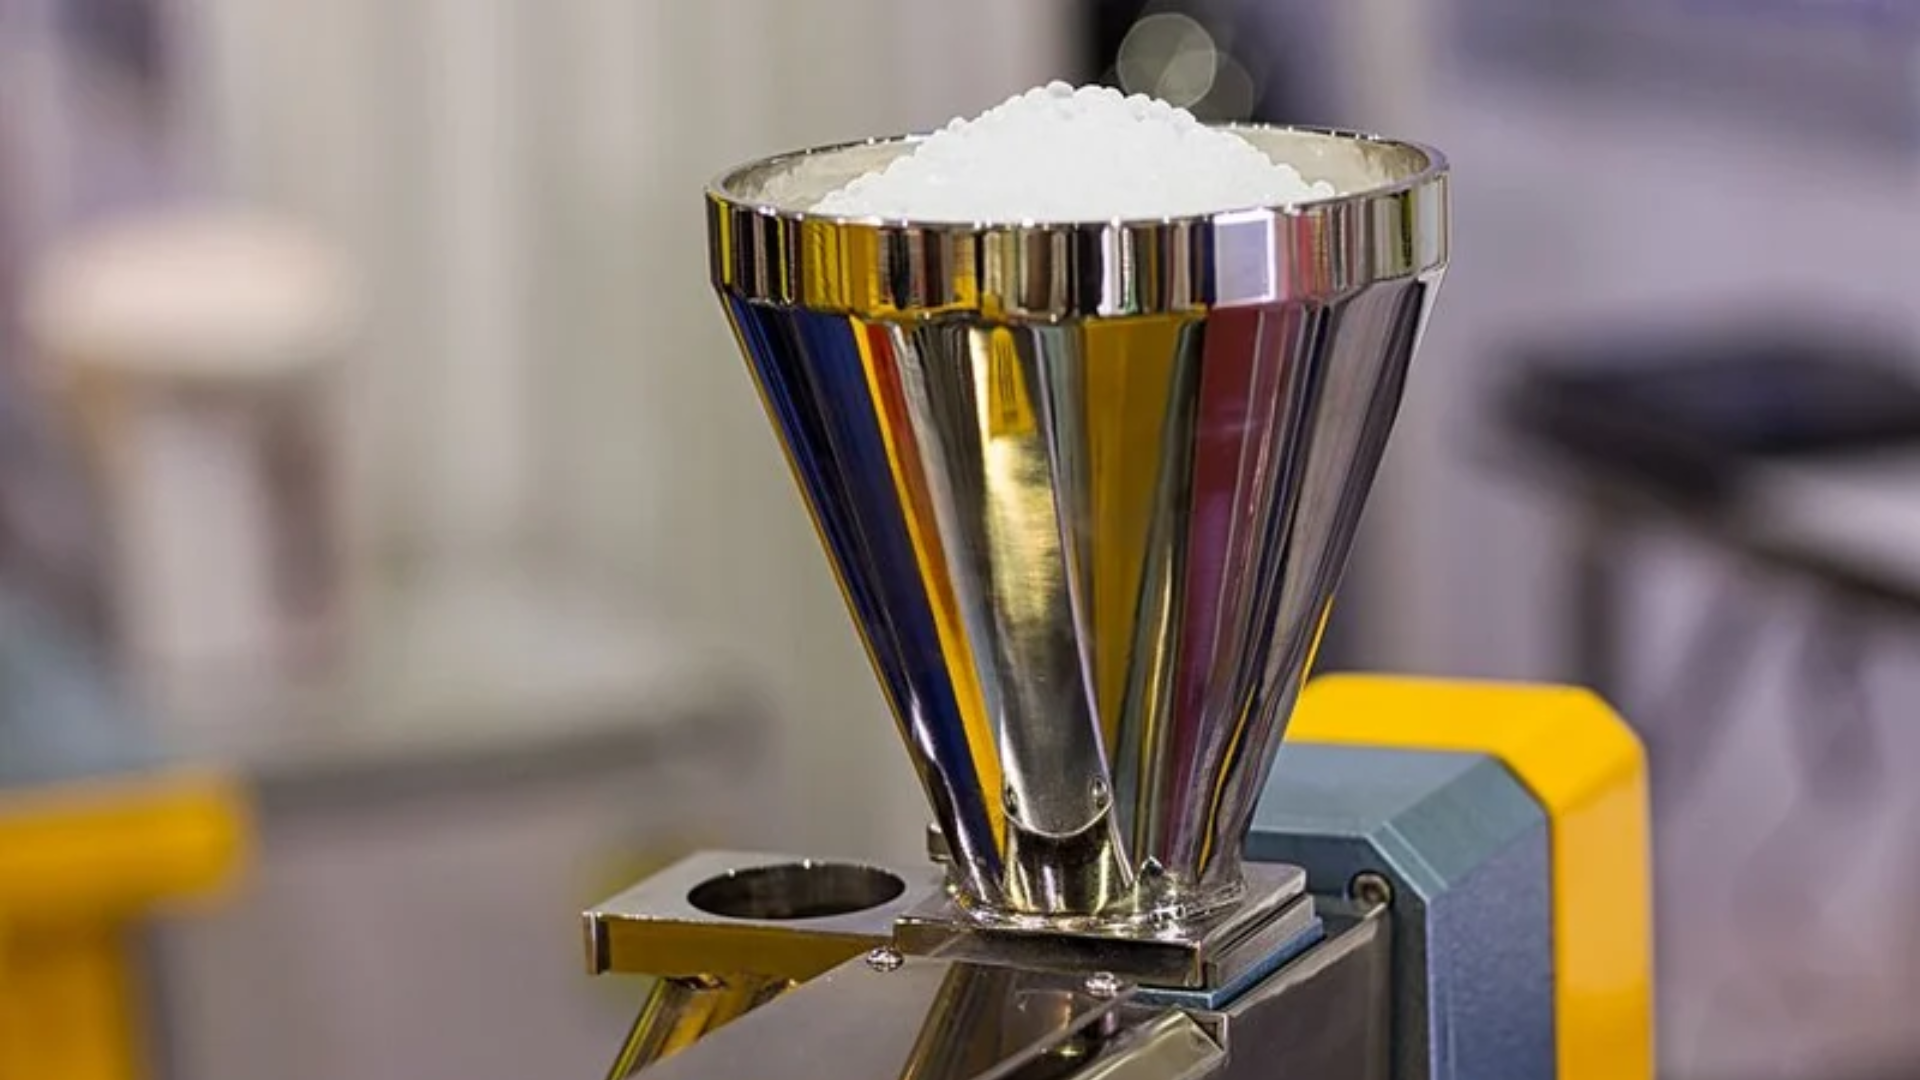
Types of Mechanical Purging Materials
Mechanical purging can be performed with:
High-viscosity base resins used as DIY purges (e.g., HDPE, PP), or
Purpose-built mechanical purging compounds formulated for stronger displacement and scrubbing action.
Because mechanical purging relies on shear and displacement, it’s most effective in specific production scenarios where contamination, color residues, or resin changes demand a physical clean-out of the plasticating system, and that’s exactly what we’ll break down next.
When to Use Mechanical Purging
Mechanical purging works best in situations where contamination must be physically displaced or scrubbed out of the plasticating system. These are the cases where shear, viscosity, and pressure, not chemical reactions, deliver the fastest, cleanest results.
1. Color Changes
Mechanical purging is the primary method for fast, reliable color transitions, especially when pigments tend to cling to:
Screw flights
Barrel walls
Check valve (NRV) pockets
Low-flow areas in the transition zone
When changing from dark to light colors or any high-loading masterbatch, mechanical purging reduces streaking, residual tint, and long flush times.
2. Material Changes
Switching between different resin families introduces compatibility and degradation risks.
Common scenarios:
Amorphous ↔ crystalline transitions (e.g., ABS → PP)
Large temperature differences between materials
High-viscosity resin followed by low-viscosity resin (or vice versa)
Mechanical purging removes material that won’t melt out cleanly on its own and prevents cross-contamination that affects clarity, flow, and shrinkage.
3. Shutdowns and Startups
Idle time is one of the biggest causes of resin degradation.
Mechanical purging is used to:
Push out material before it carbonizes during the planned shutdown
Remove oxidized or partially solidified resin during startup
Stabilize the melt before introducing production resin
A clean plasticating system reduces defects in the first several cycles and minimizes scrap.
4. Black Specks, Streaking, or Splay
These defects usually indicate:
Degraded resin trapped in low-shear regions
Pigment stuck on screw flights
Carbon buildup caused by hot spots
Backflow contamination behind a worn NRV
Mechanical purging is the first corrective step when these symptoms appear, especially during long production runs.
5. Before Maintenance or Screw Pulls
Mechanical purging ensures a safer and cleaner maintenance process by:
Removing hot resin before screw/barrel extraction
Clearing the NRV and front zone
Reducing manual scraping and burn-off time
A properly purged system also inspects wear surfaces far more accurately.
Mechanical purging is required anytime the process demands physical removal of resin, pigment, or degraded material from the screw, barrel, nozzle, or check valve, especially during changes, shutdowns, contamination events, or maintenance prep.
How Mechanical Purging Actually Works
Mechanical purging is effective because it uses physical forces inside the plasticating system, shear, pressure, viscosity, and flow-path redirection to remove contaminants. Unlike chemical purging, nothing is dissolved or reacted; the melt itself does the cleaning.
Below are the four mechanisms that make mechanical purging work.
1. High Viscosity → High Shear Cleaning
Mechanical purges are intentionally formulated to be thicker (higher viscosity) than production resin.
This higher viscosity creates greater shear stress between the purge material and:
Screw flights
Barrel surface
Check valve seats
Transition-zone dead spots
Why this matters:
High viscosity forces the purge to grip carbon, pigments, and degraded resin.
The scrubbing action generated by shear removes deposits where normal resin simply flows over them.
Shear also agitates low-flow zones where contaminants tend to anchor.
Think of it as switching from water to honey: the thicker material cleans more effectively because it transfers force.
2. High Melt Pressure Displacement
Mechanical purging is not effective without pressure.
Increasing backpressure and maintaining controlled screw-forward forces accomplish two things:
Pushes purge material into stagnant regions (behind the NRV, between screw flights, inside the transition zone).
Compresses the purge melt, allowing it to expel trapped resin and contamination.
Why pressure settings matter:
Low backpressure allows contaminants to stay seated in pockets.
High backpressure packs the purge into areas where contamination hides.
Proper pressure also improves pigment removal by increasing melt mixing intensity.
Without adequate pressure, even the best purge compound behaves like normal resin and slides past the buildup.
3. Flow-Path Reversal (One of the Most Overlooked Purging Mechanisms)
Contamination often sits in areas where resin doesn’t normally flow at full velocity, especially in molding systems.
Mechanical purging helps by:
Flooding alternate flow paths
Forcing melt backward through restrictive zones
Traversing manifold channels that rarely see high shear
Clearing gates, runners, and hot runners (when safely accessible)
Where this matters most:
Hot runner manifolds
Valve-gate regions
Sprue bushings
Nozzle tips
Shut-off nozzles
By changing how melt flows through the system even momentarily, a purge can sweep out resin that would otherwise remain trapped for hours or cycles.
4. Mechanical + Resin Compatibility (Why Some Purges Work Better Than Others)
The effectiveness of a mechanical purge also depends on thermal and viscosity compatibility with the resin being removed.
Key factors:
Viscosity matching:
A purge too thin slips around buildup; too thick may not move through the system at all.
Melt-temperature alignment:
If the purge melts at a significantly different temperature, it may not generate proper shear—or may degrade before it cleans.
Resin behavior:
Materials like HDPE, PP, and PC purge efficiently because they tolerate high shear.
Others (like nylon or PETG) are more sensitive to overheating, requiring careful parameter selection.
Why this matters:
A mechanical purge must behave like a controlled abrasive fluid—thick enough to scrub, but stable enough not to degrade or smear.
Mechanical purging works because it leverages shear, pressure, alternative flow paths, and resin compatibility to physically remove contamination.
When these forces are applied correctly, mechanical purging clears carbon, pigment, and degraded polymer far more effectively than routine resin flushing.
Step-by-Step Mechanical Purging Procedure
Mechanical purging only works when the machine is driven correctly. The goal is to displace and scrub, not simply melt and push material forward.
Follow this sequence to ensure contamination is physically removed from the screw, barrel, NRV, and nozzle.
1. Empty the Barrel
Run the existing resin down until the screw is nearly empty.
A partially packed screw makes purging significantly less effective because contaminants stay trapped behind the melt cushion.
Tip:
Stop when shots start to short; this signals the barrel is mostly clear.
2. Load the Purge Resin or Mechanical Purging Compound
Introduce the purge material with the screw turning at a moderate RPM.
Why this matters:
Purge compounds need uninterrupted contact with screw flights to generate shear.
3. Increase Backpressure
Raise backpressure to create compression and force the purge into low-flow zones.
Typical range: 100–200 psi, depending on resin and machine.
Purpose:
Forces purge material behind the NRV
Packs contamination out of the transition zone
Increases shear for pigment removal
4. Run High Screw Speed in Short, Repetitive Shots
Cycle the screw using short shots rather than full-barrel injections.
This does three things:
Scrubs the screw/flights with repeated high-shear strokes
Prevents dilution of purge material
Increases mixing to break loose carbon and pigment
5. Hold Pressure to Pack Out Contamination
After each short shot, apply hold pressure for 1–3 seconds.
This step is critical because holding pressure drives purge material into:
Dead spots behind the NRV
Low-flow zones in the barrel
Nozzle and tip regions where carbon sits
Gate and runner channels (if applicable)
High pressure dislodges contaminants that shear alone cannot remove.
6. Continue Purging Until Slugs Show Consistent Color and Texture
Inspect purge slugs on a metal tray or scrap surface.
You are looking for:
Uniform color
No black specks
No streaking
No swirls or graininess
Consistent viscosity/flow
If variation persists → contamination is still exiting the system.
7. Reduce Temperatures When Transitioning to a Lower-Temperature Resin
If switching to a resin that processes at lower temperatures:
Drop barrel temps gradually
Continue purging as temps fall
This avoids degraded high-temp resin staying inside the barrel, where it can carbonize.
Micro-Tips
These insider techniques dramatically increase purge efficiency:
“Oscillating screw speed helps clean the NRV.”
Alternate high/low RPM to disrupt contamination behind the check valve.
“Hold pressure is more important than screw RPM when cleaning dead spots.”
Pressure forces purge into areas that RPM alone can’t reach.
“A long residence-time purge hides contamination—avoid slow cycles.”
Slow cycles insulate carbon instead of shearing it off.
“Never purge with a closed nose or blocked nozzle.”
Pressure spikes can damage heaters or deform the tip.
“Open the mold occasionally when purging through a runner system.”
Prevents freeze-off that traps contaminated material.
With the procedure understood, the next step is knowing when to rely on mechanical purging and when chemical purging or a combination offers a faster or more thorough clean.
Mechanical vs Chemical Purging
Mechanical and chemical purging solve different problems inside the plasticating system. Understanding what each method actually does prevents wasted purge material, excessive downtime, and repeat contamination.
Category | Mechanical Purging | Chemical Purging |
|---|---|---|
Primary Cleaning Mechanism | High viscosity + high shear + high pressure physically scrub and displace contamination. | Heat-activated chemical agents break down the residue so it flows out |
What It Cleans Best | Color changes, pigment hang-up, degraded resin, carbon, screw/barrel contamination | Baked-on residue, carbonized contamination, tight hot-runner channels |
Best Use Cases | • Fast color changes• Material transitions• Black specks / streaks• Cleaning before shutdown or maintenance | • Hot runner cleaning• Severe carbon deposits• Long-term buildup• Hard-to-reach areas |
Where It Works | Screw, barrel, NRV, nozzle, and manifolds with enough pressure | Hot runners, manifolds, tight geometries, low-flow zones |
Advantages | • Strong scrubbing force• Quick results• Cost-effective• Safe for screw/barrel | • Reaches stagnant areas• Less pressure required• Excellent for baked-on carbon |
Limitations | • Cannot remove fully carbonized residue• Less effective inside complex hot runners | • More expensive• Requires soak time• Not ideal for rapid color changes |
Typical Workflow | Displace old resin → scrub contamination → flush until clean | Activate chemistry → break down residue → flush with resin |
When to Combine Both | N/A | Use chemical purge first → follow with mechanical purge for full displacement |
When to Combine Both Methods
Many plants get the fastest and cleanest results by pairing the two:
Chemical soak
→ Loosens degraded material and carbon inside the system.
Mechanical purge
→ Displaces the softened contamination and cleans out remaining residue.
This hybrid approach is particularly effective during:
deep cleans before maintenance
black-speck troubleshooting
emergency contamination events
color/material transitions after a long production run
Mechanical and chemical purging each solve different types of contamination, but when purging starts taking too long—or contamination keeps coming back—the root cause is usually deeper than the purge material itself.
Next, we’ll break down the common purging problems and what they reveal about melt-quality issues inside the plasticating unit.
Common Problems During Mechanical Purging
Even with the right purge material, mechanical purging can fail when underlying machine or melt-handling conditions aren’t correct. Below are the issues processors encounter most often and the real root causes behind them.
1. Purging Takes Too Long
Likely causes:
Backpressure too low to create scrubbing force
Screw speed too slow → not enough shear
Barrel temperature mismatch between old resin and purge resin
Running long cycles → contamination hides in stagnant zones
What this tells you:
The purge is not generating enough mechanical work to dislodge residue.
2. Black Specs Keep Returning
Likely causes:
Carbonized material trapped behind the NRV
Wear inside the screw/barrel creates “catch points”.
Hot/cold spots in barrel heaters are causing material degradation
Dead spots in the screw channel or compression zone
What this tells you:
Contamination is being created during processing, not just left behind.
3. Color Won’t Fully Flush
Likely causes:
Pigment trapped in low-shear areas
The resin viscosities between the old material and the purge are too different.
NRV leaking → backflow mixes purge with contaminated melt
Screw mixing section worn → poor pigment break-up
What this tells you:
The system is suffering from low shear, low pressure, or geometry wear.
4. Purge Compound Solidifies or Degrades
Likely causes:
Barrel temps are set too low for the purge formulation
Purge held in the barrel too long → excessive residence time
Wrong purge grade for the resin being replaced
Hot runner temperatures mismatched with barrel temps
What this tells you:
The thermal profile inside the plasticating system is unstable.
5. Screw “Refuses” to Clean
Likely causes:
Severe screw wear → dead volumes where purge cannot reach
NRV not sealing → purge material flows backward
Incorrect screw geometry for the resin processed
Material degradation inside the compression zone
What this tells you:
Mechanical purging is fighting against equipment-related melt-quality issues.
When purging repeatedly struggles to fail, the issue usually isn’t the purge material; it’s the condition of the plasticating system and the stability of the melt inside it.
This is exactly where MD Plastics’ melt-quality solutions change the equation.
How MD Plastics Reduces Purging Frequency & Improves Purge Effectiveness
Mechanical purging becomes dramatically easier and far less frequent when the melt entering the screw and barrel is stable, predictable, and free of degradation. MD Plastics focuses on the upstream conditions that determine how quickly contamination forms and how easily it can be removed.
Here’s how each component improves purge performance at the root cause level
1. Better Plasticating System (Screws Designed to Avoid Dead Spots)
MD Plastics’ custom-engineered screw geometries are built to eliminate the stagnation zones where pigments, degraded resin, and unmelted pellets typically accumulate.
They help processors achieve:
Reduced dead spots that trap old material
More uniform shear → cleaner melt path
Lower risk of pellet hang-up behind flight roots
More predictable viscosity (fewer surprises during color changes)
A cleaner melt channel means contamination forms more slowly and purges more quickly.
2. Advanced Non-Return Valves (MDP™) for Reliable Sealing
A worn or poorly designed NRV is one of the biggest reasons for mechanical purging struggles. Backflow allows degraded resin to sit behind the check valve, where purge compounds cannot reach.
MDP™ valves solve this by:
Maintaining a consistent seal shot after shot
Preventing backflow of contaminated melt
Allowing purge material to build pressure where it’s needed
Reducing the volume of “trapped” degraded resin
When the valve seals correctly, purge material actually reaches the regions it’s intended to clean.
3. Optimized Barrels & Nozzles for Thermal Stability
Temperature variation inside the barrel is a major cause of:
carbon buildup
material burning
viscosity swings
color “ghosting” during changeovers
MD Plastics’ optimized barrels and controlled-heat nozzles improve thermal uniformity, meaning:
Less degradation over time
Fewer purges are required to clear burnt or unstable material
better flow through purge cycles
more consistent material transition behavior
Stable temperature = cleaner melts = less frequent contamination.
4. Real-Time Melt Monitoring (Melt-Profiler™, Melt-IQ®, TempSense™)
Purging often becomes guesswork when processors can’t see what’s happening inside the barrel.
MD Plastics’ monitoring tools eliminate that guesswork by providing real-time data on:
melt temperature distribution
pressure consistency
viscosity fluctuations
early indications of screw or NRV wear
This allows processors to:
Detect contamination before it reaches the mold
Verify purge completion instead of relying on visual inspection
Identify wear conditions that increase purge frequency
With monitoring, purging becomes a controlled, measurable process—not trial and error.
5. The “Better Melt” Strategy That Reduces Purging Overall
MD Plastics’ entire approach revolves around one principle:
If the melt is stable, contamination doesn’t accumulate as quickly, and purges take a fraction of the time.
This integrated melt-improvement strategy:
Reduces carbon formation
Prevents pigment hang-up
Keeps viscosity steady across cycles
Cuts downtime associated with extended purge cycles
Ensures faster, cleaner transitions between colors or materials
Instead of reacting to contamination after it appears, the most efficient processors eliminate the conditions that cause buildup in the first place.
That requires understanding the melt, the machine, and how your plasticating system shapes both.
MD Plastics takes an analytical, engineering-led approach to solving these challenges. We study your process, your equipment, and your melt behavior to identify the true source of carbon formation, color hang-ups, slow purges, and material instability.
From engineered screws and precision NRVs to advanced plasticating components and melt-sensing technology, we design solutions that improve melt preparation, reduce contamination, and dramatically cut purge time.
If recurring black specs, long color changes, or inconsistent purging are slowing you down, speak with an MD Plastics engineer about optimizing your screw, NRV, and melt-conditioning system for cleaner, faster, more predictable purges.
Conclusion
Mechanical purging will always have a role in plastic processing, but it’s often used as a band-aid rather than a solution. Most recurring purge issues, carbon, color streaks, black specs, and long transition times trace back to melt-quality instability or wear inside the plasticating system.
When the screw, barrel, NRV, and thermal profile are working in harmony, purges become faster, more effective, and far less frequent.
The equation is simple:
Better melt → fewer purges → higher uptime → lower scrap.
Ready to make purges faster and cleaner?
See how Barrel Blitz Universal (BBU) supports mechanical purging with high-shear scrubbing and stable processing behavior ideal for color changes, contamination events, and pre-shutdown cleanouts.
FAQs
1. What’s the difference between mechanical and chemical purging?
Mechanical purging uses high-viscosity material and pressure to physically scrub the screw, barrel, and flow paths.
Chemical purging uses reactive agents that break down residue with minimal shear. Mechanical is best for color and material changes; chemical is best for baked-on carbon and hot runners.
2. How long should a mechanical purge take?
A typical purge should take 3–10 minutes, depending on:
contamination level
resin compatibility
screw/NRV wear
backpressure settings
If it takes significantly longer, there’s likely a melt-quality or equipment issue.
3. What’s the best purge material for color changes?
For most color transitions:
PP, HDPE, or a dedicated mechanical purge compound works well.
Complex pigments, metallics, or highly saturated masterbatches often require a commercial compound due to higher shear and better scrubbing force.
4. Can mechanical purging clean hot runners?
Only partially. Mechanical purges struggle in tight manifolds or low-flow areas.
For hot runners, a chemical purge or chemical + mechanical hybrid sequence is usually recommended.
5. How do I know if my NRV (non-return valve) is worn and affecting purging?
Signs include
inconsistent shot si
color that refuses to flush
black specs reappearing after a purge
excessive backflow during screw recovery
A worn NRV is one of the most common reasons mechanical purging becomes ineffective.
6. Should I purge before shutdown?
Yes—always.
Purging before shutdown prevents resin from degrading or carbonizing in the barrel, which dramatically reduces contamination during startup and extends the life of the screw and NRV.